Drainage and slope: the key technical aspects of a walk-in shower

Why is the gradient the most decisive technical factor?
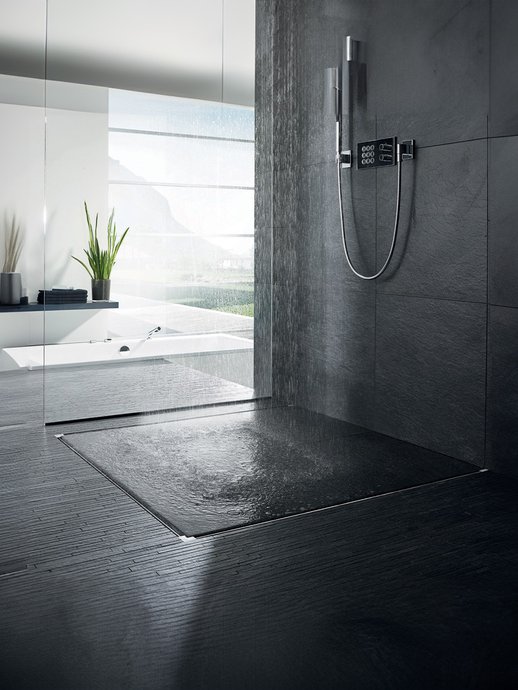
With no threshold or rim to contain the water, a walk-in shower relies entirely on the slope of the floor to direct the water towards the drain. This is what fundamentally distinguishes this type of shower from a traditional shower tray, where the tray itself does part of the work by containing the water until it drains away naturally.
What slope should be allowed for a walk-in shower?
The recommended slope is generally between 1 and 3 centimetres per metre, with a value of 2 centimetres per metre representing the best balance between effective drainage and acceptable walking comfort in the shower. Too gentle a slope encourages water to pool, whilst too steep a slope can make the surface uncomfortable underfoot and cause water to drain too quickly, leading to solid residues accumulating in the drains.
A shower tray ready for tiling or a masonry screed? Two different approaches to slope
A shower tray ready for tiling is manufactured with the slope already incorporated, which significantly reduces the risk of calculation errors on site. A masonry screed, by contrast, requires the slope to be created manually, usually around one centimetre per metre, in addition to the slope already provided by the waterproofing membrane laid underneath. This second method requires greater expertise, but it allows for bespoke dimensions that standard shower trays do not always offer.
Choosing between a floor drain and a shower channel
The drainage system has a direct impact on the number of slopes required and the complexity of the subsequent tiling work. Two solutions dominate the market, each with its own technical constraints.
1. The central floor drain
Positioned in the centre of the shower, the floor drain requires four slopes to be created, each converging towards it from every corner of the room. This configuration, known as a diamond point, requires a more complex tiling process, involving diagonal cuts that follow the slope of the floor towards the central point. This is the most common solution, particularly for showers accessible to people with reduced mobility, as it ensures effective drainage across the entire surface without relying on a single side of the shower.
2. The shower drain
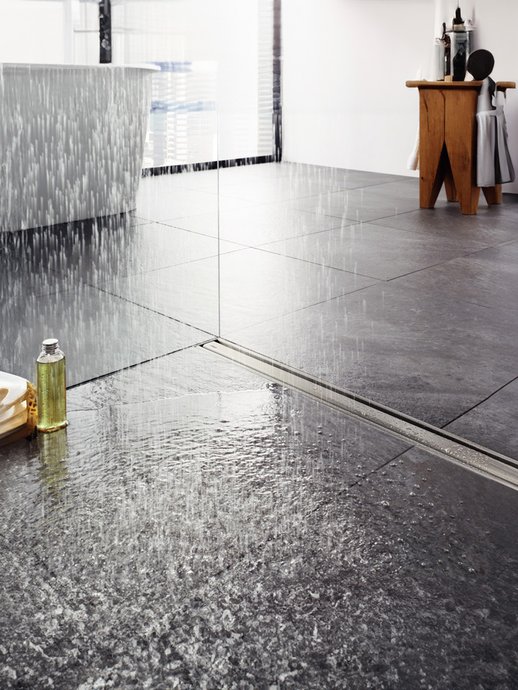
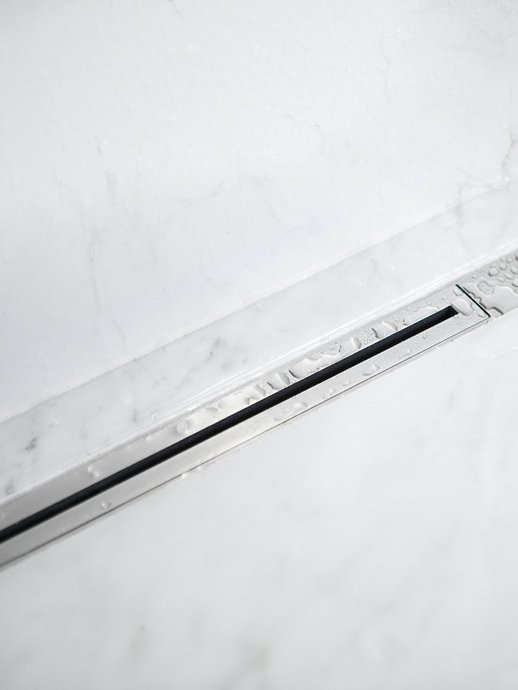
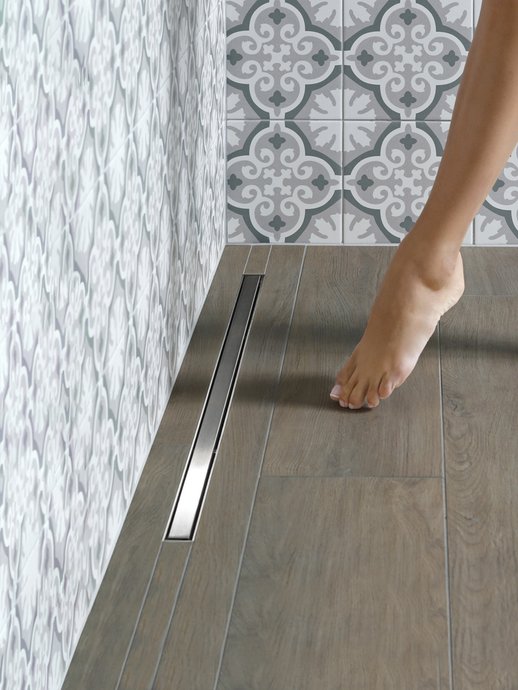
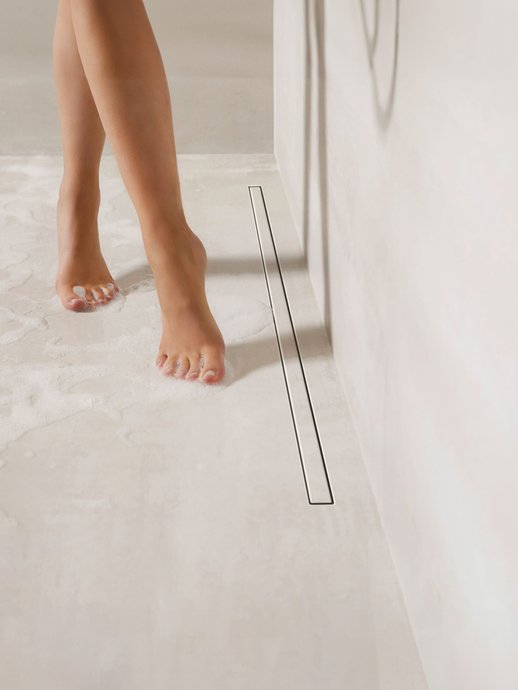
Installed against a wall or beneath the shower head, the shower channel requires only a single slope, directed towards the side on which it is situated. This configuration significantly simplifies the tiling process, as it avoids the pyramid-shaped cuts required around a central drain. The channel also makes it easier to lay large tiles or mosaics without having to make numerous complex cuts, which explains its growing popularity in both renovation and new-build projects.
Which system should you choose, depending on the layout of the room?
The central drain remains a suitable option for square showers or for projects aiming for maximum accessibility, whilst the channel drain is better suited to rectangular showers or layouts where the aim is to minimise the number of tile cuts. The choice also depends on the location of existing pipework in renovation projects, which may naturally favour one solution over the other depending on the position of the existing drainage system.
Pipe diameter: a factor that is all too often underestimated
A carefully calculated gradient is not enough if the diameter of the drainage pipe is insufficient to handle the water flow generated by the shower. However, this criterion is checked less systematically than the gradient itself.
What is the minimum diameter for a walk-in shower?
The recommended minimum diameter is 40 millimetres, but most walk-in shower installations are better off using a diameter of 50 millimetres, particularly when the shower tray is extra-flat or the distance to the drainpipe exceeds one metre. A larger diameter partly compensates for a gentler slope and reduces the risk of blockages caused by the build-up of debris in a pipe that is too narrow.
Why does the extra-flat shower tray require a larger diameter?
The flatter the shower tray, the less height there is to create a pronounced slope within the tray itself. This limitation must therefore be compensated for by a larger drain diameter – generally around 90 millimetres for the drain itself – in order to ensure sufficient flow despite the reduced slope. This is a particular point to bear in mind for walk-in showers with an extra-flat shower tray, where there is less margin for error in the dimensions than with a conventional, thicker shower tray.
Standards and certifications to be aware of for evacuation equipment
In addition to the general recommendations regarding slope and diameter, certain standards set out precise technical specifications that shower traps and drains must comply with.
The NF EN 1253 standard for floor drains and traps
This standard sets out several technical requirements for the fittings installed in a walk-in shower: a load-bearing capacity of 3 kN, equivalent to the weight of a wheelchair, heat resistance up to 95 degrees, and a water trap depth of at least 50 millimetres to prevent odours rising from the drainage system. Checking that the chosen trap or drain channel complies with this standard prevents the installation of equipment that is insufficiently sized for regular domestic use.
The opening of the gate: a detail that matters for safety
For domestic use in bathrooms, the gap in the grate must be between 4 and 8 millimetres, in order to ensure both a good drainage flow and safe passage when walking barefoot, without any risk of getting trapped or injured. This dimension, which is sometimes overlooked in favour of aesthetic considerations alone regarding the drain grate, remains a regulatory requirement that must be checked before purchase.
Excavation of the ground: a technical constraint that is often decisive
The lack of a threshold, which is characteristic of walk-in showers, almost always means that the existing floor must be cut away to accommodate the drainage system; this is often the most challenging technical aspect of the project, particularly in renovation work.
What depth of excavation should be allowed for?
Between the thickness of a shower tray ready for tiling, around 5 centimetres, and that of the associated drain, around 7 centimetres, an excavation of at least 12 centimetres is generally required to achieve a perfectly level finish with the rest of the bathroom. For a masonry screed without a prefabricated shower tray, this minimum depth remains similar, at around 10 to 12 centimetres depending on the configuration of the chosen trap.
The specific case of replacing a bath with a shower
Replacing a bath with a walk-in shower requires particular attention to be paid to the existing drainage system, as the two fixtures do not operate on the same drainage principle. A bath drains water via a single drain plug without the need for a slope across its entire surface, whereas a walk-in shower requires a continuous slope across the entire floor area it occupies, which is often larger than the former location of the bath. It is therefore necessary to check whether the existing pipe, usually positioned beneath the former location of the bath drain, is in the right place to serve as the lowest point of the new slope, or whether it needs to be moved to match the layout of the shower. This relocation of the drainpipe, together with the creation of a slope that did not previously exist, explains why this type of conversion often requires more work than it might appear at first glance.
Vertical or horizontal output: a choice that depends on the context
The direction in which the waste water flows into the main sewer system also affects the complexity of the installation and the available gradient for the final connection.
Vertical discharge: the most straightforward solution
When the main drain pipe is located directly beneath the drainage point, a vertical outlet allows for rapid drainage without the need to manage any additional horizontal gradient. This is the simplest configuration to implement and is generally preferred in new-build projects, where the layout of the drainage system can be planned in advance during the design phase.
Horizontal venting, which is more common in renovation projects
When the existing pipework comes through the wall rather than from the floor, a horizontal outlet is required, which means an additional slope must be created between the shower drain and the wall connection. This configuration generally requires more headroom beneath the shower tray, which may make it necessary to dig out a deeper recess or raise the shower slightly above the level of the rest of the room.
Fixed or hinged door: a choice that affects access to the drain
The type of wall chosen has no direct impact on the calculation of the gradient, but it does affect access to the drainage system for regular maintenance of the trap or channel. A fixed panel, often secured to the floor near the drainage system, may make cleaning the grate slightly more difficult if it has not been positioned with this access in mind. A hinged panel, which opens wide outwards, generally provides better access to the drainage area and facilitates occasional maintenance tasks, such as removing the grate to clear a blockage caused by hair or soap scum. This factor should be taken into account right from the design stage, particularly when the chosen drainage system – such as a channel positioned against a wall – is located in the immediate vicinity of the rail or the wall’s fixing point.
Frequently asked questions
Q1. What is the minimum required slope for a walk-in shower?
There is no specific DTU standard prescribing a single value, but professional guidelines recommend a gradient of between 1 and 3 centimetres per metre, with 2 centimetres per metre being the most commonly adopted value to ensure good drainage without compromising walking comfort.Q2. Does the diameter need to be different depending on whether the shower uses a trap or a drain channel?
The recommended diameter remains broadly the same, at around 40 to 50 millimetres for the pipe, regardless of the system chosen. The main difference lies in the number of slopes required: just one for a channel, compared with four converging slopes for a central siphon.Q3. Is it possible to install a walk-in shower without excavating the existing floor?
This can be achieved by raising the shower slightly above the rest of the room, creating a subtle step at the entrance. This solution ensures that the necessary drainage height is maintained when it is not possible to fully recess the shower, particularly due to the structure of the existing floor.Q4. What happens if the gradient is too shallow once the work is complete?
An insufficient slope causes water to pool, which can, over time, encourage the growth of mould and weaken the waterproofing layer beneath the tiling. The main risk remains gradual water ingress into the structure, which can sometimes go unnoticed for several months before manifesting as more visible signs of damage.Q5. Does the choice between a trap and a drain channel affect the budget?
Yes, a shower channel generally represents a greater investment than a standard floor drain, due to its more intricate construction and its more decorative appearance. This difference in cost is often justified by the fact that it simplifies the tiling process, as it requires fewer complex cuts than would be needed around a central drain.