How to install a walk-in shower in place of your bathtub: step-by-step guide

Why replace your bath with a walk-in shower?
Walk-in showers appeal for much more than just their aesthetics. Discover the practical advantages that this installation brings to your daily life and well-being.
Secure access for all
The main advantage of a walk-in shower is its level access. Unlike traditional bathtubs, it eliminates the risk of falling over the edge. This design is particularly beneficial for seniors, children and people with reduced mobility.
Unfortunately, the bathroom remains a common site for domestic accidents. According to studies, 15% of falls requiring hospitalisation among the over-65s occur during personal hygiene routines. Walk-in showers reduce these risks thanks to several features:
- A non-slip tray that guarantees optimal grip
- Easy installation of grab bars in strategic locations
- A generous space that facilitates movement
The addition of a thermostatic mixer prevents scalding by maintaining a constant temperature. This extra safety feature effectively protects all users.
Save space in your bathroom
The walk-in shower optimises even small spaces. Its sleek design creates visual continuity that makes the room appear larger. The absence of a raised tray frees up floor space and creates an immediate feeling of openness.
This flexibility of layout adapts to all configurations:
- Corner installation to maximise available space
- Forms that can be customised to suit your requirements
- Integration under slopes or in unusual corners
Transparent glass walls amplify this effect of space by allowing light to circulate. A single fixed wall may suffice, freeing up even more floor space in small bathrooms.
Simplified daily maintenance
The walk-in shower makes daily maintenance considerably easier. Its continuous surfaces, with no hard-to-reach corners, can be cleaned quickly. The absence of numerous joints and complex profiles limits the accumulation of limescale and mould.
There are still many customisation options available:
- Large-format tiles for a sleek look
- Mosaic for a decorative touch
- Natural stone for a spa atmosphere
- Resin for a seamless finish
To maintain your installation, regularly wipe down the glass walls with a scraper after use. Also ensure that you maintain good ventilation to remove any residual moisture.
This solution combines comfort, safety and modern aesthetics. These practical advantages explain why walk-in showers are now becoming the norm in most bathroom renovations.
5 steps to installing your walk-in shower
This installation remains accessible to motivated DIY enthusiasts if you follow a clear method. We guide you step by step to ensure this transformation is a success without any unpleasant surprises.
1. Remove the old bath
First, turn off the water supply to your home. Remove the skirting board around the bath to gain easy access to the drain system. This skirting board may be a simple screwed-on wooden panel or a tiled structure that must be removed with care.
Then remove the taps and any accessories that are not needed for your new installation. Protect the water inlets with plugs or cloths to prevent them from getting dirty.
Cut the silicone seal around the bath with a craft knife, then unscrew the plug and disconnect the drain. If the bath is sealed, use a flat chisel to gradually pry it loose.
Protect the floor and walls with a tarpaulin before lifting the bath. This operation often requires additional help, especially for cast iron models.
2. Prepare the surface
Clean the area thoroughly to remove all traces of dust, grease or adhesive residue. Check that the floor is level and correct if necessary to obtain a perfectly horizontal base.
Allow for a recess of approximately 10 cm to accommodate the trap and comply with drainage standards. In some flats, you may need to slightly raise the bathroom floor.
Apply a waterproof coating to the floor, walls and especially to the wall/floor joints. This step determines the durability of your installation and cannot be compromised.
3. Adapt the plumbing
Your walk-in shower requires a slope of 1 to 2 cm per metre to ensure proper drainage. Check that this slope is compatible with your current configuration.
You can usually reuse the existing connections from the bath for the water supply. If you are installing a rain shower, ensure that your installation provides the necessary flow rate.
Wrap the pipes in a flexible material before embedding them in the plaster. This precaution prevents breakages in the event of movement in the screed.
4. Install the shower tray and walls.
Position the drain in its final location, checking that it is perfectly level with a spirit level. Test the flow by pouring a bucket of water into the trap before securing it in place.
Apply a generous bead of polymer sealant under the shower tray and at the points of contact with the walls. This step ensures a perfect seal.
For glass walls, first install the wall profile, checking that it is level. Mark the holes, drill and insert the appropriate plugs. Secure the profile, apply the sealant and then insert the glass panel.
5. Finalise the sealing
Sealing is a crucial step in your installation. Carefully apply silicone sealant around the shower tray, at the joints with the walls and along the glass walls.
Wait at least 24 hours before first use to allow the seals to dry completely.
Install the taps by applying sealing tape to the threaded connections. Test that the mixer tap is working properly and check for leaks before enjoying your new walk-in shower.
Select the solution that best suits your requirements.
There are several options available to you for installing your walk-in shower. We can help you choose the solution that best suits your situation and budget.
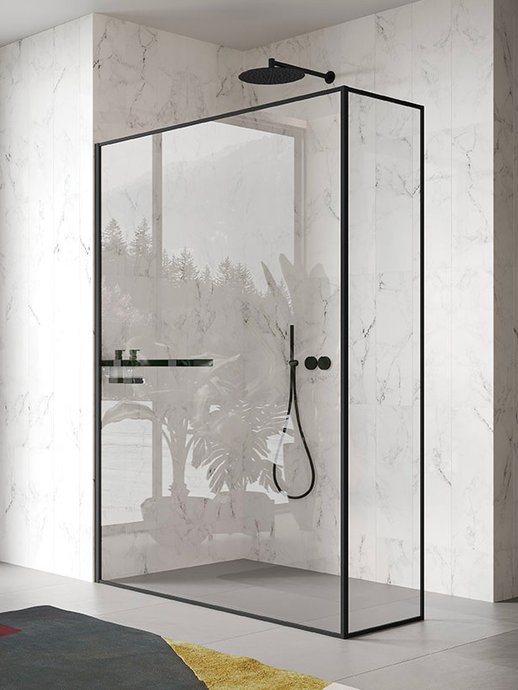
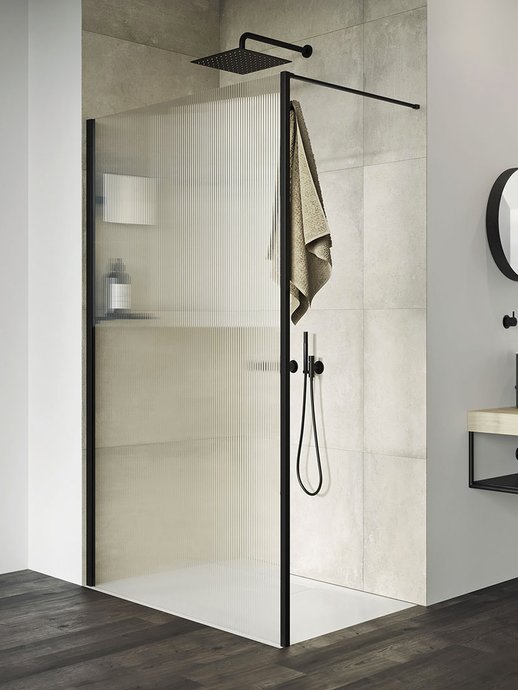
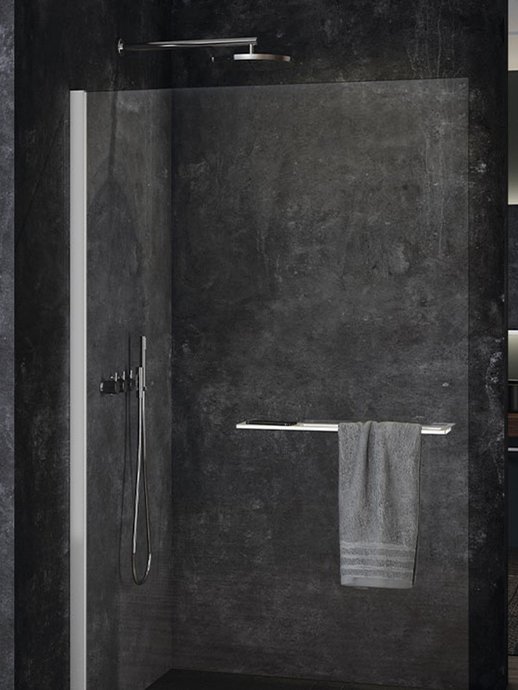
Custom-made walk-in shower
This solution offers you complete customisation of your shower space. Particularly recommended for unusual layouts, it adapts precisely to the available dimensions. You choose each element individually: shower tray, screens, taps and finishes according to your tastes.
Installation requires more extensive work, particularly with a masonry screed or a tileable shower tray. Expect to pay between £4,500 and £7,000, including labour, for this high-end option.
Ready-to-install cabin
For simplified and more economical installation, the ready-to-install cubicle is an excellent compromise. It uses an extra-flat tray 3 to 6 cm thick, which replicates the effect of a walk-in shower while making installation considerably easier.
The available models come in different shapes and sizes, with a variety of materials: resin, ceramic or acrylic. Less customisable than the made-to-measure version, this solution combines aesthetics, ease of installation and budget control.
Avoid these common mistakes during installation
Enjoy your walk-in shower for years to come by avoiding these common mistakes. These precautions will save you costly problems and ensure your daily satisfaction.
Never neglect waterproofing
Waterproofing is the most critical aspect of your installation. A poorly waterproofed surface causes water infiltration, which can cause lasting damage to your home. Two main systems provide this protection:
- Liquid Waterproofing System (LWS): this coating forms an impermeable barrier thanks to its adhesion and flexibility.
- SPEC (Water Protection System under Tiles): this membrane creates a waterproof barrier once completely dry.
It is essential to use waterproof panels or a waterproof mat under your tiles. Entrust this crucial step to an experienced professional to avoid any risk of water infiltration.
Choose a non-slip shower tray
The safety of your shower begins with a floor that offers good grip. The PN (Bare Feet) standards guide you in this essential choice:
- PN12 or Class A: medium grip (angle 12-18°)
- PN18 or Class B: high grip (angle 18-24°)
- PN24 or Class C: strong adhesion (angle greater than 24°)
For wet areas, choose tiles that are at least PN18 certified (class B). The more slip-resistant the shower tray is, the more regular maintenance it will require to preserve its anti-slip properties.
Ensure effective ventilation
Insufficient ventilation causes long-term humidity and mould problems. Install a CMV (Controlled Mechanical Ventilation) system with a humidity sensor. This system automatically adjusts its flow rate according to the ambient humidity level.
Position the ventilation grille away from the shower head for optimal efficiency. Ensure that your system extracts enough air to compensate for the characteristic opening of walk-in showers.
Observe the minimum dimensions
A comfortable walk-in shower requires carefully calculated dimensions. Allow for at least 80 cm in width, ideally 90 cm for optimal comfort. The recommended length varies between 120 and 160 cm.
To prevent splashing, install a wall panel measuring at least 140 cm. Access requires a minimum passage width of 60 cm for a fixed wall or 70 cm for a sliding door. People with reduced mobility require a minimum width of 83 cm.
A walk-in shower for your daily well-being
Installing a walk-in shower in place of your bathtub significantly improves your everyday comfort. This modern solution brings safety, ease of use and contemporary aesthetics to your bathroom.
The success of your project depends on careful preparation. Check the structure of your floor, analyse your drainage system and choose the right dimensions for your space. These preliminary steps will help you avoid complications during the work.
Several solutions are available to suit your budget and needs. Custom-made showers offer complete personalisation, while ready-to-install cubicles are a more economical alternative. Quick-fit installations are particularly suitable for people with reduced mobility.
Waterproofing remains the most important element of your installation. High-quality waterproofing, combined with a non-slip coating and good ventilation, guarantees the durability of your walk-in shower.
Your new walk-in shower transforms your bathroom into a more accessible and pleasant space. This improvement adds value to your home while offering you optimal comfort for years to come.
Frequently asked questions
Q1. What are the advantages of replacing a bathtub with a walk-in shower?
The main advantages are improved accessibility and safety, optimised space, a modern and sleek design, and easier maintenance. Walk-in showers also offer more flexibility in bathroom layout.Q2. What checks should be carried out before installing a walk-in shower?
It is essential to check the floor structure to ensure that it can support the installation, analyse the existing water supply and drainage systems, and choose the right dimensions based on the available space. A professional assessment is recommended to ensure the feasibility of the project.Q3. What is the average cost of converting a bathtub into a walk-in shower?
The cost varies depending on the type of installation chosen. A custom-made walk-in shower can cost between £4,500 and £7,000, including labour. More economical solutions such as ready-to-install cubicles or one-day installations are also available at lower prices.Q4. What are some common mistakes to avoid when installing a walk-in shower?
The main mistakes to avoid are neglecting waterproofing, choosing a slippery shower tray, forgetting adequate ventilation, and misjudging the dimensions. Particular attention must be paid to these aspects to ensure the durability and safety of the installation.Q5. How important is waterproofing in a walk-in shower?
Waterproofing is crucial in a walk-in shower to prevent water infiltration, which could cause significant damage. It is recommended to use professional waterproofing systems such as SEL (Liquid Waterproofing System) or SPEC (Water Protection System under Tiles) and to entrust this step to an experienced professional.