A walk-in shower in the loft: is it really possible?

Why does a proper walk-in shower get stuck under a sloping roof?
A classic walk-in shower works on a simple principle: the shower floor slopes at an angle of 1 to 3 per cent towards a trap or drain, which is sufficient to allow the water to drain away without the need for a step or threshold. To create this slope directly in the floor, you need to allow for 10 to 15 cm of space beneath the finished surface to accommodate the waterproofing system, the screed and the drain.
In a single-storey house or on an upper floor with a thick concrete slab, this recess can be cut out without too much difficulty. In converted loft spaces, the floor usually rests on a wooden joist floor or a thin slab, which lacks the necessary depth for this type of work. Breaking through the load-bearing structure to accommodate the drain pipe therefore becomes risky, or even impossible, without compromising the integrity of the floor.
The real obstacle isn’t the slope of the roof
You might think the problem lies with the pitch of the roof itself. In reality, the obstacle lies beneath your feet, not above your head. It is the thinness of the floor that prevents a traditional installation, far more so than the geometry of the space available for showering.
The ultra-slim shower tray: the solution that solves the problem
This is where the ultra-slim shower tray makes all the difference. Installed directly onto the existing floor, with a thickness of just 4 to 6 cm, it recreates the level-floor effect of a walk-in shower without requiring any floor recessing whatsoever. There may sometimes be a slight step of a few centimetres at the entrance, but visually, the difference compared to a built-in shower is minimal once the shower tray has been tiled to match the rest of the room.
Another advantage lies in the size of its drain, which is approximately 90 mm in diameter compared with 60 mm for a standard shower tray. This larger diameter compensates for the shallow depth by ensuring rapid drainage, even with a high water flow rate. For corner configurations – common in sloping rooms where available space narrows towards the eaves – corner shower trays make the most of every centimetre without compromising on comfort of use.
Height: the second non-negotiable requirement
Even with the right shower tray, a sloped shower will only work if there is enough headroom to stand upright. The rule remains the same: a minimum of 2 metres of headroom to move around without bumping your head, and up to 2.20 metres if you’re planning to install a rain shower head, as the shower head must be at least 20 cm above your head.
When there isn’t enough headroom in certain places, there are several adjustments that can save the project. Placing the shower tray at the lowest point of the slope and the shower head at the highest point – following the slope rather than fighting it – remains the simplest solution. A height-adjustable wall-mounted hand shower, rather than a fixed shower head, also offers considerable flexibility in tight spaces. Finally, always allow at least 60 cm of clearance in front of the shower so you can get in and out without feeling cramped.
Waterproofing: the factor that really determines the success of the project
A walk-in shower, whether built-in or set on an ultra-low-profile shower tray, leaves no room for compromise when it comes to waterproofing. Without a shower tray, protection against water relies entirely on a system applied before the tiles are laid – the well-known SEL (liquid waterproofing system) – or a specialised membrane, connected to a trap suitable for this purpose. The tiling and grouting, however carefully done, are never sufficient on their own to prevent water seepage.
A waterproofing membrane on the substrate connected to the trap, a minimum gradient in accordance with the specifications of the method used, and a waterproofing upstand of at least 10 cm around the perimeter of the shower. In loft spaces, where water ingress is likely to reach the insulation and timber framework directly, this technical attention to detail is even more important than elsewhere. This is a job best left to a qualified professional; it is not something you should attempt to do yourself.
Whether with or without a shower tray, the same level of care is required
Whether you opt for an extra-flat shower tray or a built-in solution, the ventilation of the room plays an equally crucial role in the longevity of the installation. An effective mechanical ventilation system, or failing that, a correctly positioned roof window, limits ambient humidity and protects the timber structure of the loft from mould in the long term.
Which wall should you choose, depending on the pitch of your roof?
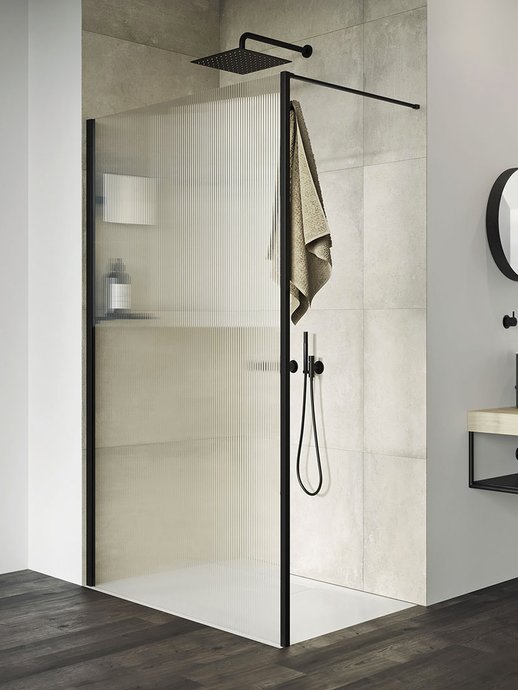
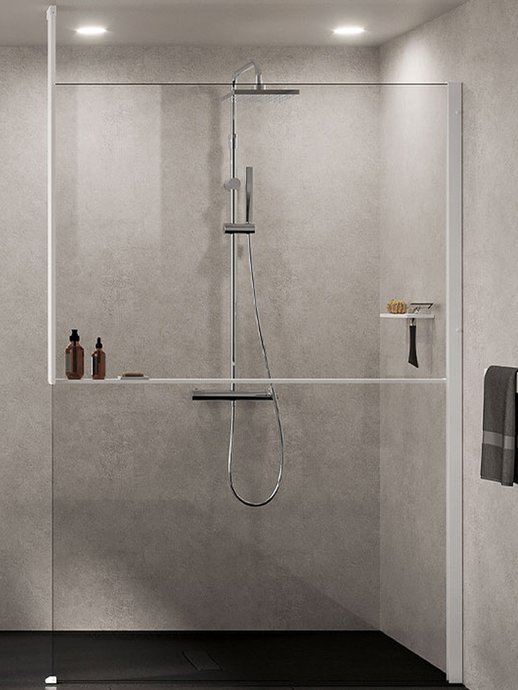
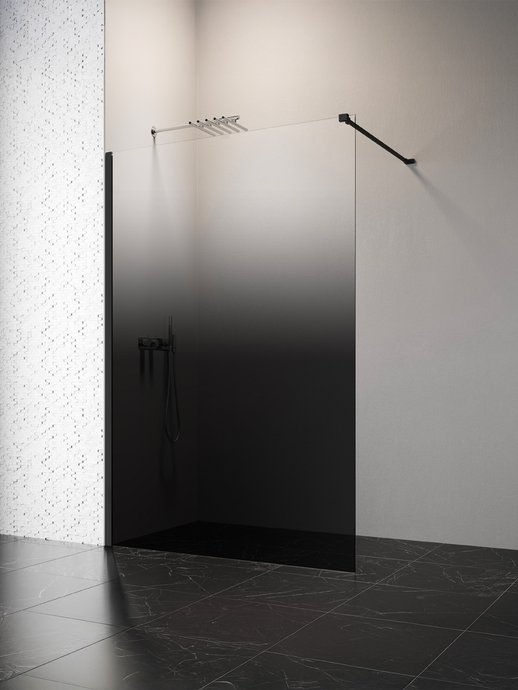
Standard shower screens, designed for straight walls, never follow the angle of a sloping roof. In loft spaces, people tend to opt for bespoke solutions made from toughened glass, which can adapt to unusual angles. Three configurations are most common: a fixed screen running parallel to the slope, supported by a stabilising bar without any fixings to the opposite wall; a perpendicular screen enclosing a corner shower where there is sufficient headroom; and a shower enclosure fitted between three walls, which is particularly effective for making use of corners that would otherwise be difficult to utilise.
Ranges such as the Walk-in A16 2.0 from Inda or the Duplo Pure from Huppe are well suited to these bespoke installations on sloping surfaces. For areas where the ceiling height remains consistent and sufficient, a more conventional range such as Huppe’s Select+ 10 mm is suitable without requiring any special cutting. When the pitch exceeds 45°, it is often better to avoid any fixed wall on the sloping side and opt for a side opening without a partition, which is easier to seal properly.
Combining a shower and a bath under a single sloping roof, without compromise
It isn’t always necessary to do away with the bath to save space. In a reasonably sized loft bathroom, the shower naturally occupies the highest area, whilst the bath is situated beneath the lowest part of the roof, where you are lying down rather than standing up anyway. A simple glass partition between the two areas is enough to create visual continuity without compartmentalising the space.
When space is really at a premium, the 2-in-1 bath-shower combination remains a practical option. It combines both functions in a single unit, which makes it much easier to fit out a room with a sloping ceiling, without having to give up the pleasure of a proper bath every now and then.
Decorating ideas to make the most of a shower under a sloping ceiling
Once the practicalities have been sorted out, the slope becomes an aesthetic feature rather than a flaw to be concealed. Positioning the shower directly beneath a skylight remains the most effective solution: natural light falls directly onto the wet tiles, creating reflections that are unique to this bathroom layout, and, as an added bonus, provides welcome natural ventilation after every shower.
In terms of materials, the sloping wall lends itself particularly well to polished concrete or large-format tiles that follow the slope without any visual interruption. A colour contrast between the sloping wall and the straight walls – with a darker finish on the sloping side – adds structure to the space and avoids the overly flat effect that an entirely white room can sometimes create. Exposed beams, if your roof structure has any, are better left visible rather than concealed: they serve as a reminder that this shower exists precisely because the room is located under the roof, and this subtle architectural detail often adds all the charm to the final result.
A budget to plan for, depending on the configuration chosen
The cost varies mainly depending on the type of shower tray chosen. An installation with an extra-flat shower tray remains the most economical option, as it minimises the amount of structural work required. A bespoke built-in shower, with a recess cut into the floor and full waterproofing, requires more labour and a larger budget. In both cases, waterproofing and ventilation are never areas where you should cut corners: this is precisely what distinguishes a shower that lasts twenty years from one that causes water damage eighteen months after installation.
A walk-in shower in an attic space is therefore much more than simply a matter of personal preference: it is a project that must be based on a thorough technical assessment. Check the available headroom and the type of floor, and don’t hesitate to seek professional advice before choosing between an extra-flat shower tray and a built-in solution. Once these basics are in place, there’s nothing to stop your sloping-ceiling shower from becoming one of the most pleasant spaces in the house.
Frequently asked questions
Q1. Is it always possible to install a proper walk-in shower recessed into the loft?
Not always. You need to allow for 10 to 15 cm of clearance beneath the finished floor to accommodate the drainage, which a timber loft floor does not always provide. The extra-flat shower tray gets round this limitation by being laid directly onto the existing floor.Q2. How high do the ceilings need to be to shower comfortably under a sloping roof?
Allow at least 2 metres to stand up without bumping your head, and up to 2.20 metres if you’d like a rain shower head.Q3. How can you ensure that a walk-in shower installed under a roof is watertight?
It relies on a liquid waterproofing system or a membrane applied before the tiles are laid, connected to a suitable trap, with a rise of at least 10 cm around the edges. This stage must be carried out by a qualified professional.Q4. Is the extra-flat shower tray suitable for all loft conversions?
It is suitable for the vast majority of renovation projects, including corner installations thanks to specialised models. At just 4 to 6 cm thick and featuring a wide drain, it is suitable for floors where excavation is not possible.Q5. Is it possible to combine a shower and a bath in a bathroom with a sloping ceiling?
Yes. The shower is positioned in the highest area, and the bath under the lower part of the roof. If space is really limited, a 2-in-1 bath-shower unit combines both functions in a single space.